
When I showed you my most recent waterfall, Christine from My Nail Art Journey asked for a tutorial and I thought it would be fun to do a tutorial on this technique since waterfalls are so easy to do and so pretty!
Materials
- A polish for your base
- Three or four polishes for the waterfall
- A small nail art brush
- Topcoat
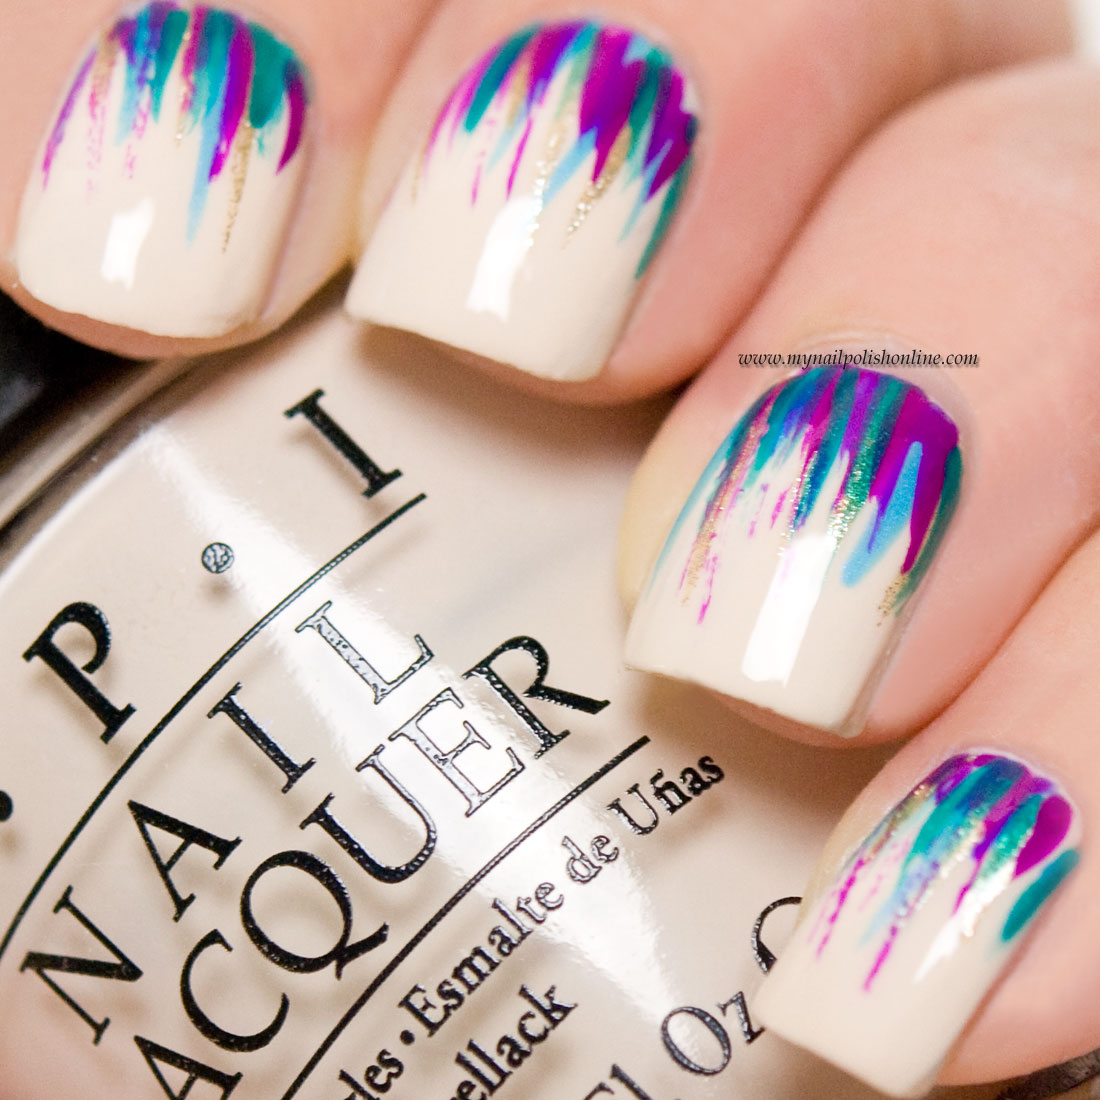
Nail Art – Waterfall
Step by step
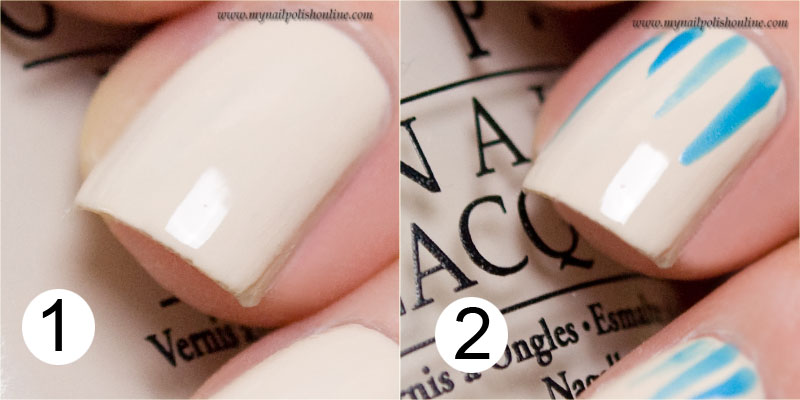
1. Start by applying your base and let it dry.
2. With a small nail art brush, paint strokes of colors with the first polish assigned for the waterfalls. Start at the cuticle and paint towards the nail tip. Stop at about half the nail. Paint the strokes irregularly and leave space in between the strokes for other colored strokes
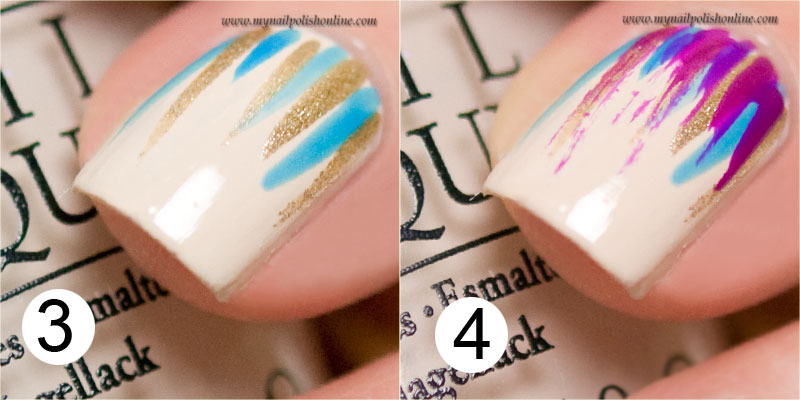
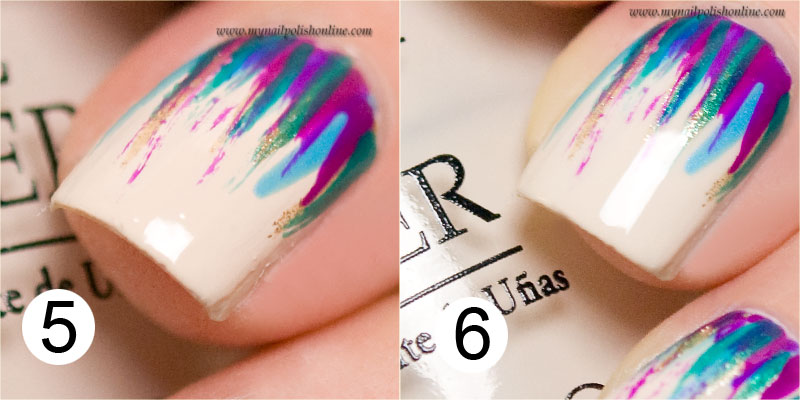
3-5. Repeat step 2 with one color at the time
6. Clean up and topcoat your manicure
Nail Art – Waterfall
Nail Art – Waterfall
Nail Art – Waterfall
When choosing colors for your waterfall, try using contrasts both between the base and the waterfall and in-between the colors forming the waterfalls. The contrast could also consist in different finishes, like having a metallic polish together with the creams.
For the waterfall I’ve used OPI – My Vampire is Buff as a base and ORLY – Skinny Dip, pixi – very violet, ORLY – Luxe, Wet ‘n Wild – Miami spirit.

Gorgeous mani <3
Author
Thanks JoanneD :)
Very pretty! The choice of colors is awesome!
Author
Thank you :)
Den här manikyren är väldigt snygg och verkar ju väldigt enkel. Ska nog ge mig på en sån manikyr nån gång:)
Author
Ja, den är enkel och snabb! Prova!
I love how it went out and your choice of colours!
Author
Thank you so much :) I’m glad you like the colors :)
Bra tutorial och vilka läckra färger du valt. :-)
Author
Kul du tycker det :) Tack så mycket!
Snyggt, måste försöka testa
Author
Det måste du :)